

Hello, sophisticated humans and beloved dog lovers. Niki here. As a five-and-a-half-year-old English Setter, I pride myself on maintaining a certain standard of elegance, poise, and intellect. While I adore my human companions, I have noticed that when we dogs get into a bit of trouble—say, eating something we shouldn’t or scraping a paw during a spirited romp—humans tend to lose their composure. There is often a lot of gasping, frantic pacing, and high-pitched noises that, frankly, do very little to solve the problem.
As the discerning editor of the SnoutScoop pack, I believe preparation is the ultimate form of love. While we always advocate for immediate veterinary care in an emergency, there are critical moments before you reach the clinic where your actions can make all the difference. Today, we are going to walk through five lifesaving canine first aid skills that every dog parent must master. Pack your imaginary medical bags, stay calm, and let’s get educated.
1. The Art of Safe Restraint (Yes, Even for Angels)
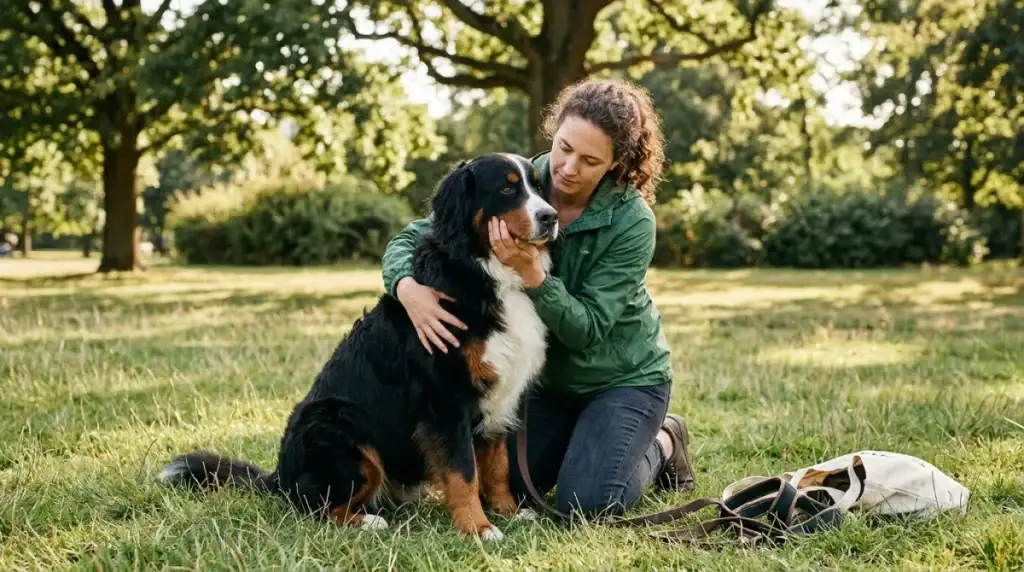
Let us begin with a difficult truth: when a dog is injured, frightened, or in pain, their survival instincts kick in. Even the most gentle, angelic pup—or a high-energy goofball like my roommate Blu—can instinctively bite if you touch a painful area. According to the American Veterinary Medical Association (AVMA), proper and safe restraint is the very first step in administering any form of first aid.
To safely examine or transport an injured dog, you need to know how to muzzle them temporarily (unless they are vomiting or having difficulty breathing):
- Use what you have: If you do not have a commercial muzzle in your pet first aid kit, a soft gauze bandage, a clean stocking, or even a soft leash can work as an improvised muzzle.
- The technique: Loop the material around your dog’s muzzle, tie a loose knot on top, bring the ends down under the chin to tie another knot, and then secure the remaining ends behind their ears.
- Body restraint: For smaller dogs, wrapping them snugly in a towel (the “dog burrito” method) can keep them still. For larger dogs, wrap one arm around their neck/under their chin, and the other arm around their hindquarters to hold them gently but firmly against your body.
2. Managing Choking (The Canine Heimlich)
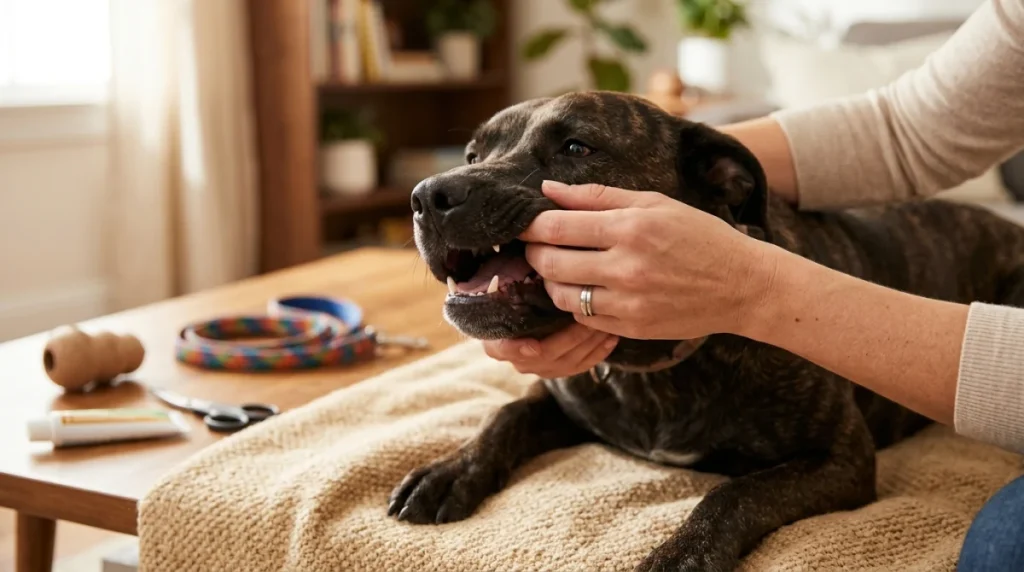
Dogs explore the world with their mouths, which means objects occasionally go down the wrong pipe. If your dog is choking, you will see frantic pawing at the mouth, pale or blue-tinged gums, and a distinct lack of air movement. This is a time for swift, methodical action.
First, carefully open your dog’s mouth to look inside. If you can see the object clearly, you may try to gently sweep it out with your fingers. However, the Veterinary Information Network (VIN) warns that you must be extremely cautious not to push the object further down the throat, and to avoid being bitten.
If the object remains lodged, you can perform abdominal thrusts (the canine Heimlich maneuver):
- For small dogs: Hold them with their back against your chest. Place your fist in the soft spot just below their rib cage and press upward and inward gently but firmly.
- For large dogs: If they are standing, wrap your arms around their abdomen from behind, make a fist, and press upward and forward just behind the ribs. If they are lying down, place one hand on their back for support and use your other hand to push upward and forward on the abdomen.
3. Pet CPR: Cardiopulmonary Resuscitation
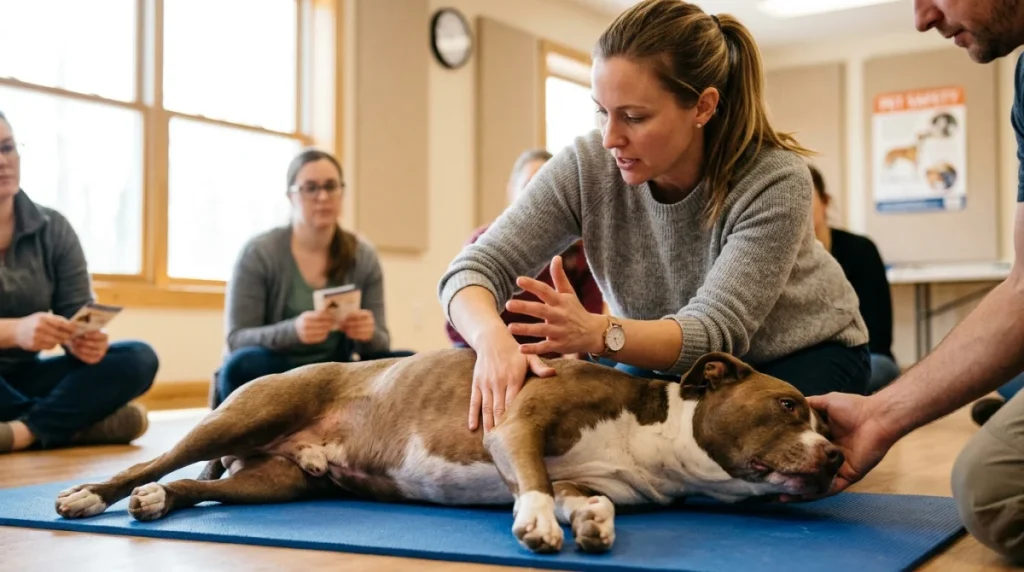
This is the skill we hope you never have to use, but knowing it can literally save a life. If your dog has stopped breathing and has no pulse, you must act as their heart and lungs on the way to the emergency vet.
According to the American Red Cross, the baseline rhythm for pet CPR is a structured cycle of compressions and rescue breaths:
- Check for vitals: Check if your dog is breathing and feel for a pulse on the inner thigh (the femoral artery).
- Positioning: Lay your dog on their right side on a flat, firm surface.
- Compressions: Place your hands over the widest part of the chest (or directly over the heart for small dogs). Compress the chest by 1/3 to 1/2 of its width at a rate of 100 to 120 compressions per minute. (Think of the beat of the song “Stayin’ Alive”—a very appropriate tune for the occasion).
- Rescue breaths: Close your dog’s mouth tightly with your hand and breathe directly into their nose. The standard ratio is 30 compressions followed by 2 rescue breaths. Repeat this cycle and head straight to the nearest veterinary clinic.
4. Controlling Severe Bleeding
Whether it is a torn claw from a run through the brush or a cut from a stray piece of glass, bleeding can look terrifying. Fortunately, the mechanics of stopping a bleed are quite straightforward.
Your primary goal is to encourage clotting. As detailed in first aid guides from Alaska’s Public Health division, you should apply direct, continuous pressure to the wound using a clean cloth, sterile gauze, or even a clean t-shirt. Hold pressure for at least 3 to 5 minutes before checking if the bleeding has slowed.
If the blood seeps through the bandage, do not pull the bandage off. Doing so will rip away the fragile clots your dog’s body is trying to form. Instead, simply place another layer of gauze directly on top and keep applying pressure. Secure the wrap firmly but not so tightly that you cut off circulation, and seek veterinary assistance immediately.
5. Recognizing and Cooling Heatstroke
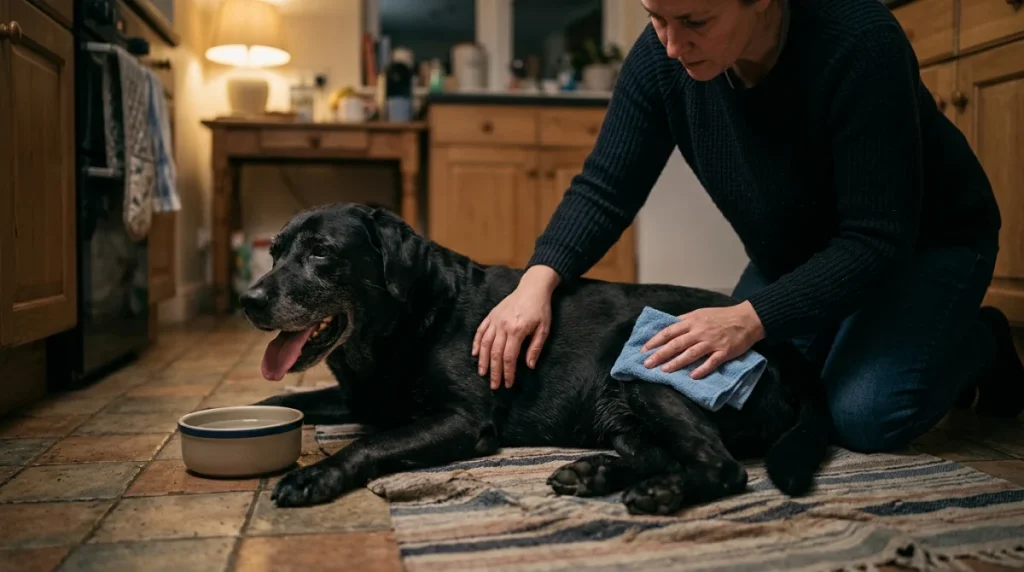
Dogs do not sweat like humans; we rely on panting to cool ourselves down. In warm weather or during intense exercise, our internal temperatures can rapidly skyrocket to dangerous, life-threatening levels. A dog’s normal body temperature is between 101°F and 102.5°F. Anything over 104°F is an emergency, and temperatures above 106°F can cause irreversible organ damage.
Signs of heatstroke include heavy, frantic panting, bright red gums, drooling, weakness, and confusion. If you suspect heatstroke, you must begin cooling your dog down before you even put them in the car to go to the vet. However, how you cool them matters immensely.
According to the AVMA emergency care tips, you should use cool water, never freezing cold water or ice. Ice-cold water causes the blood vessels in the skin to constrict, which actually traps heat deep inside the body’s core. Pour cool water over your dog’s body, place damp towels on their groin and armpits, and keep a fan blowing on them if possible. Stop cooling them once their temperature drops to 103°F to prevent hypothermia.
Niki’s Final Verdict: Keep a Kit Ready!
Now that you have the knowledge, you need the tools. Keep a dedicated canine first aid kit in your home and your car. To build a robust kit, the experts at Cooperstown Veterinary Clinic recommend including self-adhesive bandages (which won’t stick to our fur!), hydrogen peroxide (only to induce vomiting if explicitly directed by a vet), digital thermometers, tweezers, and saline solution to flush out wounds.
Having these skills and tools in your back pocket ensures that no matter what chaotic adventures your dogs lead you into, you can keep a cool head and keep us safe. Now, if you will excuse me, I must go make sure Blu hasn’t tried to chew on any household extension cords. Stay safe, stay prepared, and keep those snouts happy!